Adobe Photoshop, as we know is the most used and essential tool for photographers. It is an asset if you have steady hands on the features of Photoshop. For that, you need to get through the key notations of the software. Photoshop has always been put forward as the classic editing software and to be honestly reviewing it on many platforms; it proves to be the most efficient tool.
A beginner or an amateur needs a good amount of knowledge on the key features to get started with. This blog talks about all those features that a beginner should be aware of.

Basic Adjustments
Resize, rotate, or flip are the basic to do with any editing app or software and no doubt photoshop also gives that feature. By clicking ‘Edit,’ and ‘Transform,’ you will be able to choose the action you want to do with your picture. Whenever you find a bounding box around the image, it indicates that transformation and this means that you can perform your action.
Use the keys CTRL + T and then right click on your mouse to flip or rotate your image. Select the actions you want to, and press enters once when you are done after a popup window appears. This was it is easy to perform such small tasks. All you need to know are the basic keys and their combinations.

Instant Auto-Fixes
Options are many to choose from, and Photoshop offers various automatic options. Basics are a must to know as at the time it happens that we need only basic automatic fixtures to make the image presentable ready. On the top bar, image menu is found with such basic options like Auto Tone, Auto Contrast, and Auto Color. We can always fine tune it by using the Edit Menu which has options like Fade Auto Tone and many others.
It is to be noted that before choosing automatic fixes, you need to decide that your images need only basic fixtures or more than that. To be honest, instant automatic fixes are easy to use and very effective. So always try to be done with editing with these as the features help to create the images elegantly.
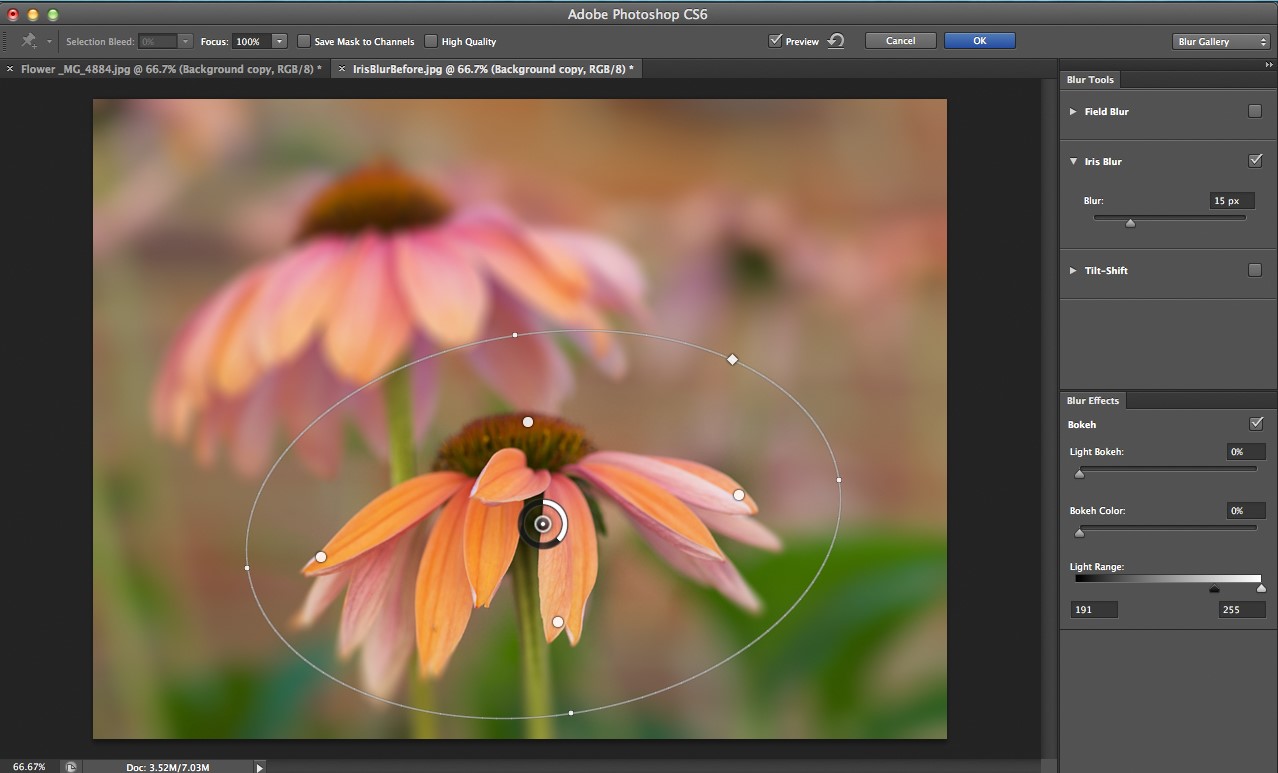
Use Of The Blur Effect
At times it happens that we open photoshop for only one tool to be applied in our picture and that can be for doing some touches with some fine lines. This is where the blur tool comes to use. Not every picture is perfect; it is a fact. We happen to come across many such pictures that need good mending so that they are properly presented. The blur tool helps us to smoothly remove small imperfections like blemishes, or wrinkles or any kind of area of the image that doesn’t make the image any better and while doing this, you don’t want to remove it but blur them into the background.
It is advisable that while doing this, we need to be very gentle and always have this in mind that we don’t end up doing so much to the image instead just focus on improving it. While doing this, we need to be careful about a lot many things like not overdoing or ending up spoiling the image.

Keyboard Shortcuts Is A Must
We know that shortcuts aren’t that much appreciated but, in this case, you don’t want to keep coming to the mouse again and again when you can speed up your process by using some keywords for small things like opening some tool or rotating or any other.
These are a few key shortcuts that can speed up your tasks and give you a quick workforce.
Move tool: V
Paintbrush tool: B
Eraser Tool: E
Layer duplicating: CTRL+J
Selection Tool: W
Crop Tool: C
For default background color: D
Note tool: I
You can always look in the settings about keyboard shortcut and menus where there is a list of defaults provided to help you through.

Hands-On Layers
Different styles are never out of trend and Photoshop gives you that liberty to style your images with different layers to select from. This is simple and much easy than it sounds. It’s like sprinkling some Oreganos on your pizza. Yes, it is that easy.
These are special effects that are applied to your image’s layers individually. It is very frequently used and quick to even understand the process. Double click on a layer and when dialog of effects appears, choose from them. That’s all you need to do. Where your intuition works are where you need to decide that which layer will perfectly fine with which layer of your images. Not only effects, but you can also select from a whole variety of features like adding a shadow or a stroke or anything to personalize to your level of styling and editing.
This is the most addictive feature of Photoshop and easiest to style too. You just got to select few things, and you are good to go. Again, be sure that you don’t overdo it as these can cheap out your images if used more than required.

The Filter Gallery
Like, who doesn’t like applying filters and Adobe’s Photoshop has this provision too. Filters are automated effects that you apply on your images with the use of few clicks which helps you attain certain special looks on your images. There are various filters provided in Photoshop which you can choose from and each filter results in making a different look to your picture. If you are aware of the correct use of the filters, you can even use multiple filters to give an effect of yours.
On the top bar, there is a tab Filter > Filter Gallery, go to click these to apply a filter. It is to keep in mind that to apply any filter you need to make sure to change your image to 8 bits so that the effect is better. Once you are familiar with the tools and techniques, you can try creating your personalized effects similarly from manual options and controls. Filters are a big trend nowadays, so give a look to learn the techniques and beware of any overdo too.

Saves And Shares
Finally, the part where any person working on anything needs to be careful about, the saving options. So, for the saving options, we need to know the standard file formats and need to be sure if the images thus edited are saved in the same format as required. JPEG, TIFF or PNG, do not support Photoshop layers, so while saving be careful about it as you don’t want to end up letting everything go in vain just because of a wrong file format. Also, these formats will ultimately turn your image into a single layer. To make sure the layers you have applied stays in place, you must save your image in the PSD format.
Now talking about sharing, who doesn’t love sharing what they have created? You can always export your files by Choose File> Export > Export Preferences. Be sure you have selected the notable file format or else you will end up making your post look ugly or not so likable.
As we have come to an end, these were the basic Photoshop features that any beginner should know to excel in the field of editing as Photoshop is the best editing tool in the arena.
Author Bio:-
UShootVEdit offers to help a photographer or any individual in need of such image editing services. This company tries to put its best photo editors in work and coordination with your necessary editing and post-processing works within some turnaround time and guaranteed quality work.


